Saturday, August 10, 2013

Fold-forming a Copper Bowl

To make a bowl, I combined the fold-forming and forging.  I started by cutting out a six inch disc and annealed it.

 Then folded it and annealed it several times.
 You can see the front and the back of the various folds.

 To get the flat disc into a bowl shape I forged it by dapping it in progressively deeper wooden dies.


I made a couple of bowls--one of which I enameled.  First I did clear on both sides and then added blue to accent the folds.  The final firing was done in the kiln and the higher heat brought out the gold in the copper, making for a great blue/gold contrast.
 The back stayed a picker colour.

Fold-forming a Spiral

I mentioned in my last post that if you hammer on an edge or on fold the metal will move in that direction.  It is a really cool process to see the metal move and bend.  It can also take a long time to hammer.  You have to anneal the metal frequently.

Here are some shots of making a spiral from copper.  I first sawed out a rough shape that was approximately 6 inches by 3/4 of an inch wide.


 I then unfolded the metal.
 I also enameled it in clear enamel on both sides.  The repeated heating brings out the gold highlights in the copper.


Fold-forming

The class I took this summer was on Fold-forming and Torch Enameling.  Fold-forming involves annealing the metal and then bending it by hand and in vises and hammering edges to make sharp folds that look a little like origami.  You then re-anneal and unfold the metal and then repeat the process to get more lines and folds.  It creates very organic shapes and textures.

We used 24gage copper.
The gloss is water left over from the metal being quenched after annealling.
 The fold on the left, below, is a pinch fold.  The one on the right is called a T-fold.
When you fold a piece of metal in half and then hammer on either the folded or the open side the metal will move in that direction. 

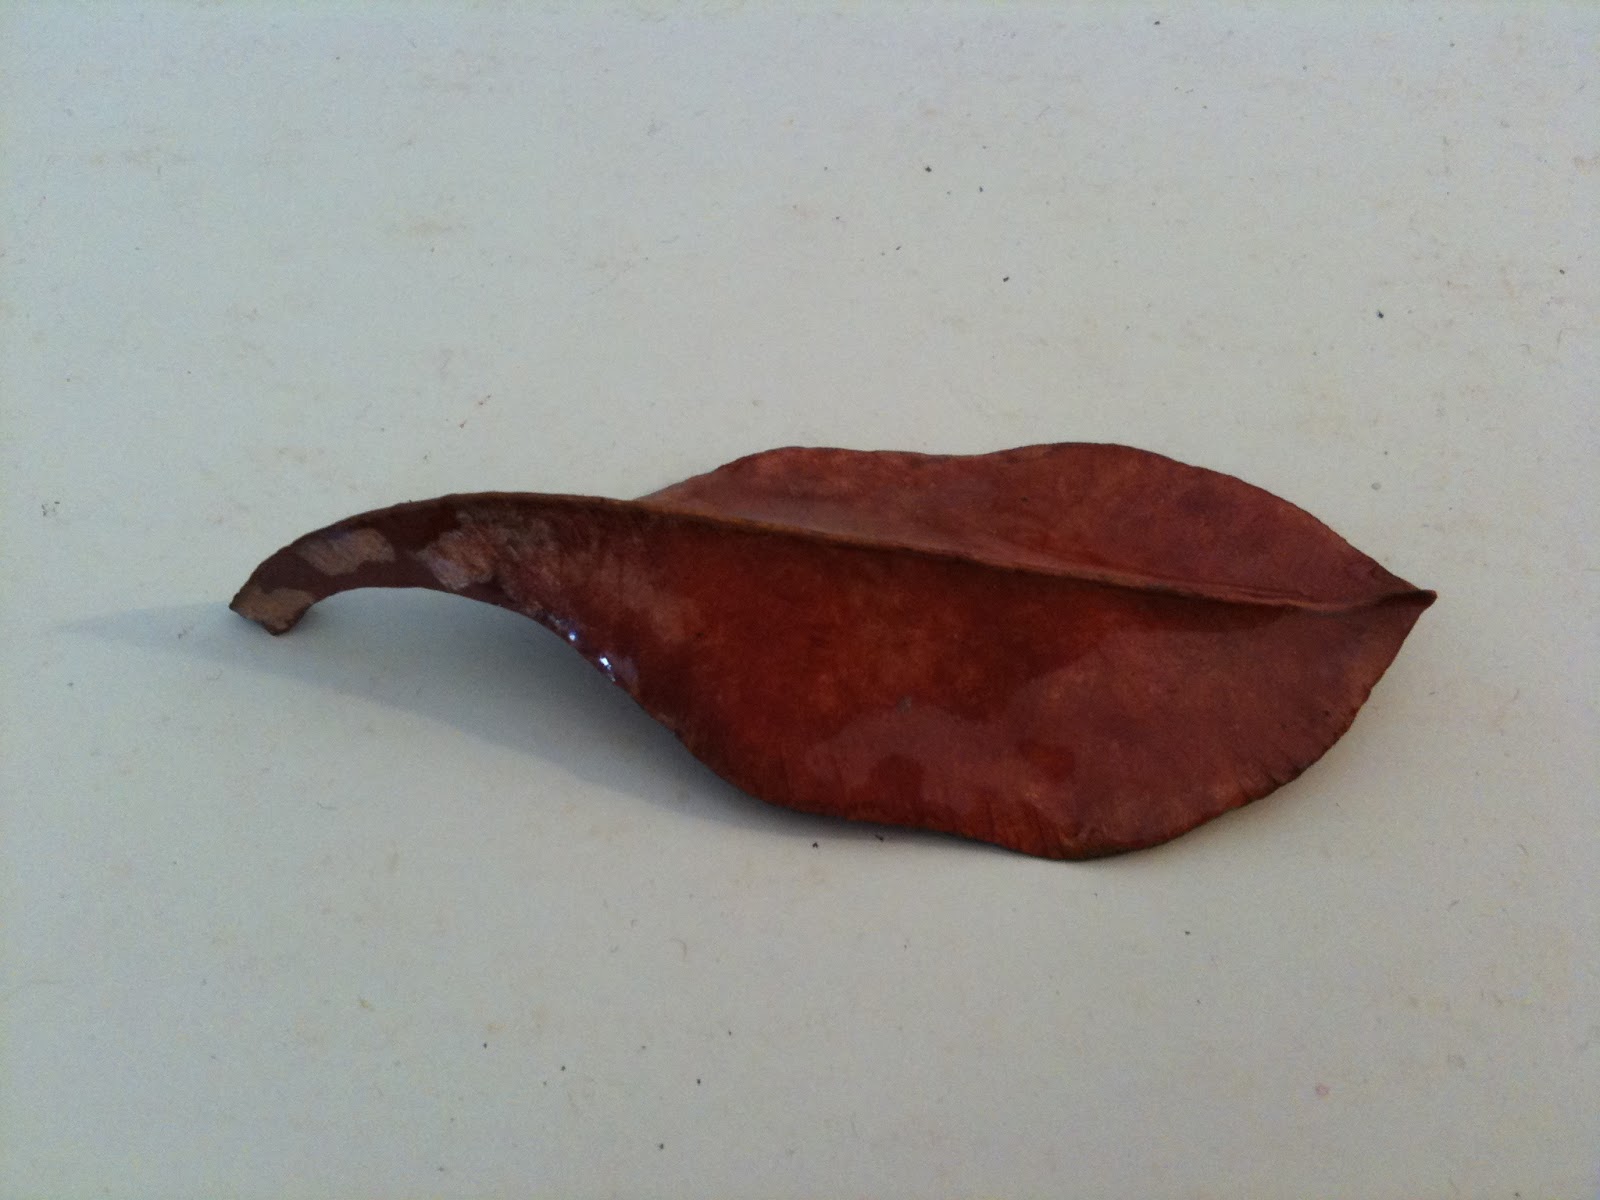
I cut out a rough leaf shape from this folded piece of copper.
I then hammered the stem on one side and the leaf part on the other to make this three-dimensional, life-sized copper leaf.
 I put it in the pickle to clean it up.
A few weeks later I enameled it with clear enamel.

More Stone Setting

Here are some other pieces that I set.

 My first pair of earrings:
 Assembling by adding silver beads and earring hoops.

Another pendant.
 I call this my Walt Whitman pendant because it has the green of leaves and the cutouts to give it motion.
 This red flower is a glass button that I set.  It was my first attempt at layering the bezel with decorative silver wires.


Stone Setting

Making a stone pendant.  Take one cabochon (in this case a sodalite stone), one piece of silver bezel wire, cut to fit the stone, and one piece of silver for the base.

Solder the wire to the base and saw out the shape of the pendant.
File and smooth the edges.  I also made some cut-outs in the back of the pendant.
Set the stone in the bezel and smooth the silver bezel to make it snug around the stone.
Then I folded the top to make the bale.